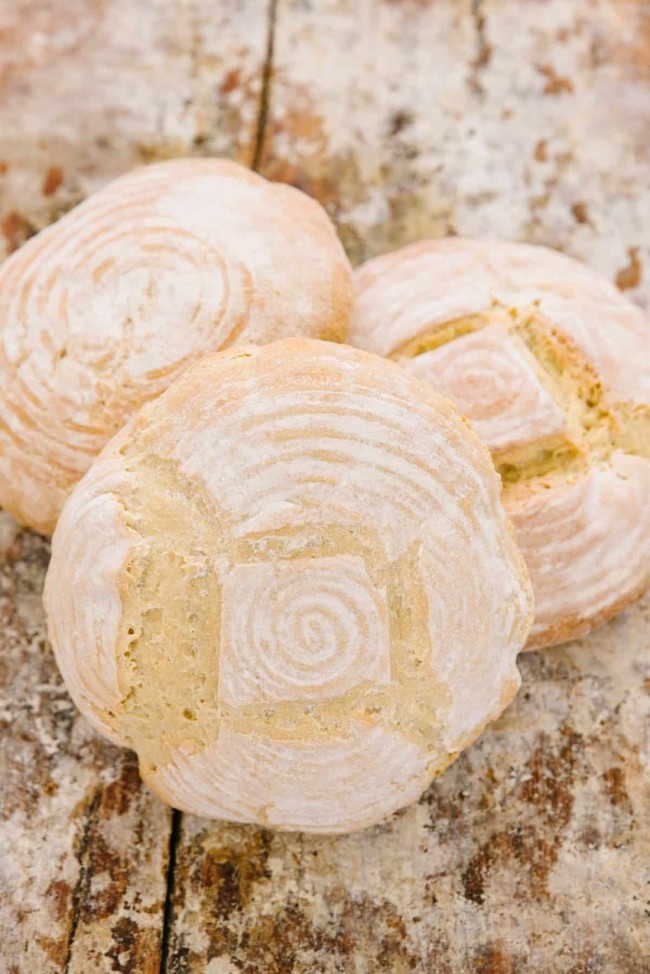
Rustic White Kamut Flour Sour Dough Bread
Rated 3.6 stars by 1213 users
Servings
1 loaf
Prep Time
6 hours

Ingredients
- 1 ½ cups water
- All of the leaven remember: it should float
- 3 cups White Kamut Flour
-
2 teaspoons French gray coarse salt
Directions
1. Measure 1 ½ cups lukewarm water in a small bowl. Pour all the leaven into the water, it should float. Remember, the smaller starter is in a separate jar, no need to do anything specific with that for the dough. If leaven is floating, stir it up gently.
2. Add to water/starter mixture 3 cups White Kamut Flour and 2 teaspoons salt Stir the dough until it is well mixed. Put a dusting of flour onto your surface then pour out the dough. Begin kneading the dough for up to 12-15 minutes. Add up to ½ cup additional flour, 1 Tablespoon at a time mostly to hands and not directly to the dough. Once finished kneading, the natural yeast is already activating and dough should be smooth and not sticky anymore.
3. Place the dough back into a large bowl and cover with either a plate, plastic wrap, or a large proofing bag. Let the dough rise in a warm, draft free place 5-8 hours or overnight. This is called fermentation, afterward either proceed to step 4 or put it into th fridge for an extended fermentation (up to an extra day). The longer it ferments, the more time it has to break down the proteins in the gluten, and usually produces a more sour loaf of bread.
4. Laminating your dough: (if it has been in the fridge let it warm up a bit or else it will rip and tear while shaping.) Pour out onto the counter, try not to use flour on the counter, rather dampen hands with cold water to prevent dough from sticking. Lamination is the process of spreading dough out and allowing oxygen in before shaping. This is important to create a nice fluffy interior to the bread. Gently pull on the edges, fanning the dough spreading it out almost like a pizza crust. If properly fermented, it will create what is called a "window pane" where the dough will spread thin without tearing.
5. Shape and build tension: Once laminated, begin to shape. The goal is to create a folding square almost like an envelope. Fold one side toward the center, then the other on top of it, fold the top to the middle and the bottom to cover. Flip it over, it should look smooth and like a square. Using the tackiness of the un-floured counter, push the dough forward and back, tucking the sides in to create a round ball. This is called building tension and helps maintain its shape, yielding that nice rise and opening in the oven while baking. Continue pushing the dough around in a circle, tucking the edges in, making sure not to overwork the loaf. Once in a nice circle with a smooth top, leave it to sit on the counter for ten minutes. This is called a bench rest.
6. Tucking the edges in, build a bit more tension before placing it face down into a well floured banneton or bowl with floured tea towel. A 7” round banneton is recommended for optimal shape during the final rise.
7. Proofing the dough: Cover the banneton, or place it into a proofing bag, let sit for up to one hour or until there is a positive “poke test” - poking a floured finger down into the dough, if it leaves a hole it is adequately proofed. Place in fridge up to 3-5 hours - can skip this step, but is best to bake from cold.
8. Preheat oven to 500 with your dutch oven inside. Once preheated, pull loaf from the fridge and flip out onto a piece of parchment paper, score loaf with a sharp culinary razor or bread lame. Slide directly into the dutch oven.
9. Drop oven temp down to 425 and bake with cover on for 25 minutes. Drop oven temp again to 350, remove the cover and bake for another 30 minutes until internal temp of loaf reads 200.
10. When finished, place loaf onto cooling rack. Cool completely before cutting - usually up to 30 minutes to avoid any gumminess when cutting hot.

